

How to make a QR code menu for your café
Last updated:
A QR code menu is two things: a menu that lives at a web address, and a small square that sends phones there. The square takes a minute. The menu behind it is what guests actually judge you on. Here is how to get both right.
In this guide
What a QR code menu really is
A QR code holds nothing but an address, drawn as black and white squares. When a guest points their camera at it, the phone reads the address and opens it in the browser. There is no app to install and nothing is stored on the phone.
So the question isn't really "how do I make a QR code". It's "where does my menu live, and what does it look like on a phone". Get that right first, and the code is the easy part.
Step 1: Put your menu online
You have three common options, and each has a catch.
- A PDF of your printed menu. Quick if you already have the design file, but it's a page made for paper: guests pinch and zoom, it loads slowly on mobile data, and every price change means a new file.
- A page on your own website. Works well if you have a website and someone who can edit it. Check that the page is easy to reach without menus, pop-ups or cookie banners in the way.
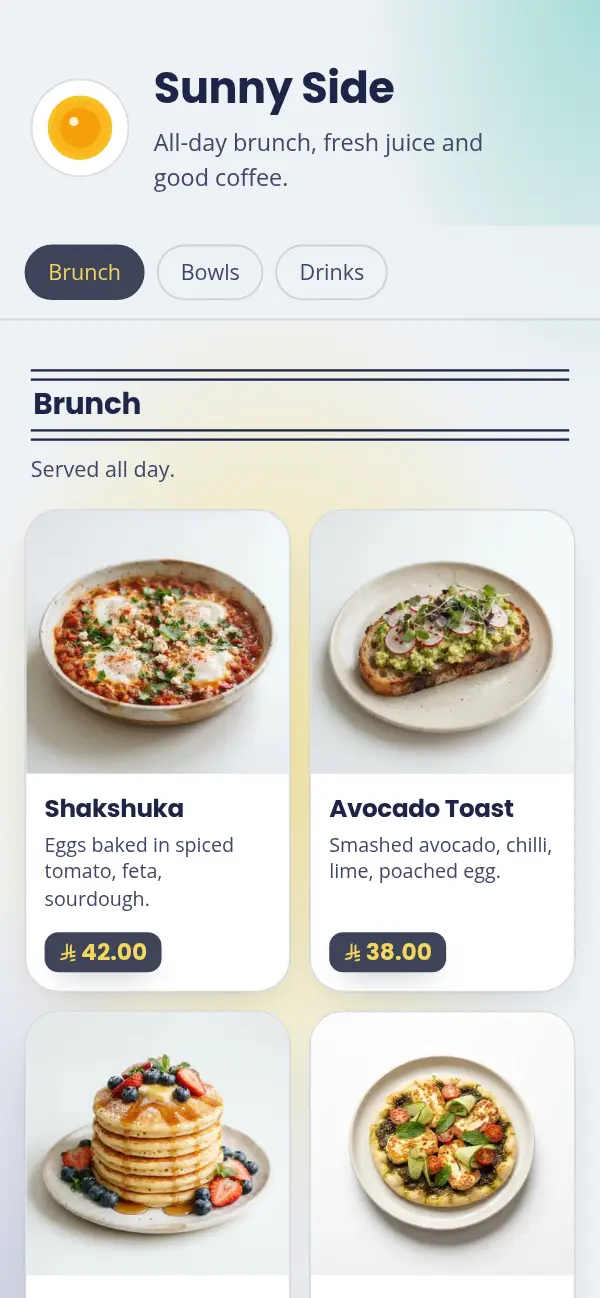
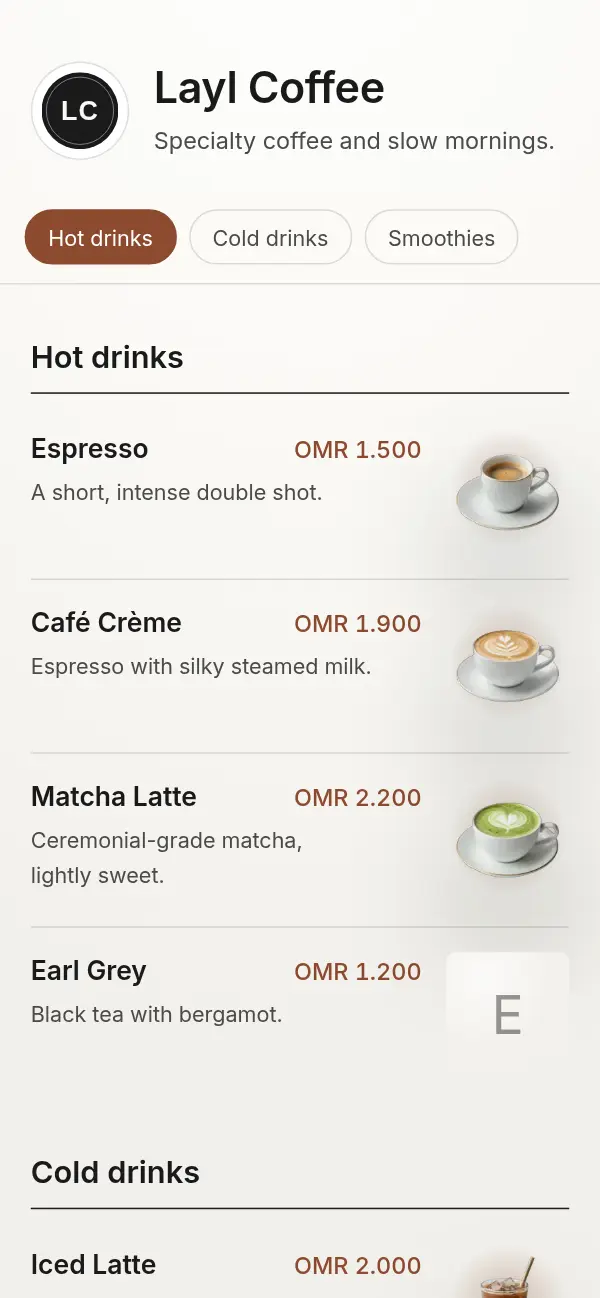
- A menu platform. You type in your sections and items, and the platform gives you a menu page made for phones, at a link that stays the same when you edit. This is the least work to keep up to date.
Step 2: Make it read well on a phone
A guest reads your menu with one thumb, often in bright light, sometimes while talking to a friend. Everything about the page should make that easy.
Use one column. Put the section names where a thumb can reach them, so guests can jump from coffee to breakfast without scrolling past everything in between. Keep descriptions to one line and prices at the end of it. Text should be readable without zooming: if you have to pinch, it's too small.
If your guests speak Arabic and English, let them switch language with one tap instead of showing both side by side on a narrow screen. Each language should be written properly, and Arabic should read right to left in a font made for it.
Step 3: Make the QR code
Once your menu has a link, making the code takes a minute. Paste the link into a QR generator and download the file. PNG is fine for most printing; SVG stays sharp at any size and is what a designer or print shop will ask for.
Watch out for generators that put their own short link inside your code and forward guests to your menu. If that service closes, changes its pricing or you stop paying, the code on every table stops working, and you can't fix it without reprinting. A code that holds your menu's own address keeps working as long as the address does.
Most important of all: use a link that won't change. If you plan to move your menu later, move it now, before you print anything.
Step 4: Design the table card
The code needs a little help to be noticed and scanned first time.
- Size: at least 3 cm (just over an inch) wide on a table card, larger on a wall or window that people scan from further away.
- Contrast: dark code on a light background. Don't put it on a photo or a pattern, and don't recolour it pale to match your brand.
- Margin: leave the white border around the code. Cameras need that quiet space to find the edges.
- Words: a short line like "Scan for the menu", in each language your guests read. People are more likely to scan when they know what they'll get.
- Placement: where a seated guest can scan without picking anything up or leaning over someone else's plate. A folded tent card works well because it stands up.
- Table numbers: if you add them now, you won't have to reprint later if you start taking orders at the table.
Step 5: Test it from the seat
Before you put codes out, sit at a table and scan with at least two phones, an iPhone and an Android if you can. Try it on mobile data, not the café's Wi-Fi, because that's what most guests will use.
Try it at the time of day you're busiest, in the real light. A glossy card under a spotlight can reflect enough to hide part of the code. Matte card avoids that.
Then read the whole menu on the phone as a guest would. Can you find the drinks in two taps? Are all the prices right? Is anything you've sold out of still showing?
Step 6: Keep it up to date
The best thing about a QR code menu is that the code never needs to change, but the menu can. Use that. Update prices when your costs change, take items off when they run out, and add seasonal specials without reprinting anything.
Set yourself a small routine: check the menu against what's actually available when you open, and review the whole thing once a month.
Common mistakes to avoid
Most QR menus that frustrate guests make one of these mistakes:
- A scanned photo or PDF of the paper menu, too small to read on a phone.
- A code that goes through someone else's link and stops working after a trial ends.
- A code printed too small, too pale or with the white border cut off.
- No printed menu at all for guests without a phone or with a flat battery. Keep one or two paper copies at the counter.
- A menu that isn't kept up to date, so guests order things you don't have.
A menu that's ready for the code
With Craftel you choose a designed template, add your drinks and dishes, and your menu goes live at its own link, in Arabic, English or both. Download the QR code, a table card or a table tent from your dashboard. Free for 14 days.